Thermal cameras have revolutionized the way we detect and diagnose various issues in different fields. When it comes to floor heating systems, thermal cameras are valuable tools that enable homeowners, technicians, and engineers to identify potential problems quickly and accurately. In this article, we will provide a step-by-step guide on how to effectively utilize a thermal camera for floor heating diagnosis.
Preparing the Thermal Camera
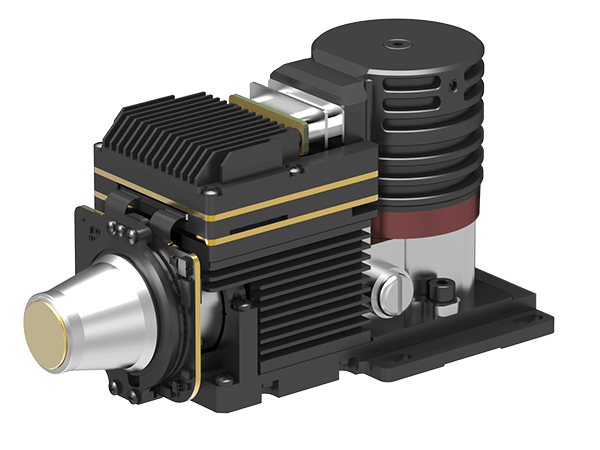
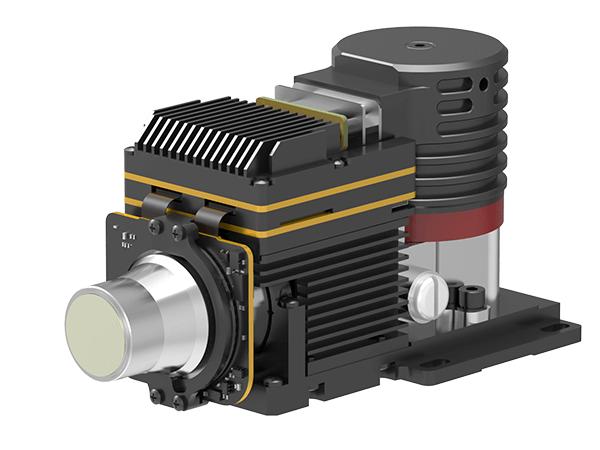
Before getting started, it is essential to ensure that your thermal camera is in working condition. Check the battery level and make sure it is fully charged or has sufficient power to last during the inspection. Also, familiarize yourself with the camera’s controls and settings, as this will optimize its performance.
Understand the Working Principle
Thermal cameras operate based on the principle of capturing infrared radiation emitted by objects. These cameras detect temperature differences and represent them visually through a color-coded image. Hotspots and temperature anomalies are easily identifiable, making them an excellent tool for identifying problems in floor heating systems.
Set Up the Environment
To achieve accurate results, it is crucial to ensure proper environmental conditions. Ideally, the floor heating system should be running for at least two hours before the inspection to reach a stable operating temperature. Ensure that any windows, doors, or other sources of airflow are closed to prevent external influences on the system’s temperature.
Inspecting the Floor Heating System
Start by scanning the floor heating system systematically. Hold the thermal camera about one meter above the floor surface, and slowly move it along the designated areas. Pay close attention to any visual anomalies or temperature differences between the heated and non-heated areas. Common issues include uneven heat distribution, leaks, blockages, and structural damage.
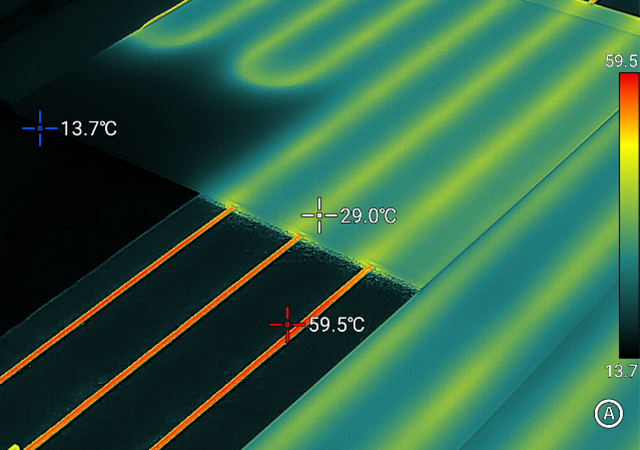
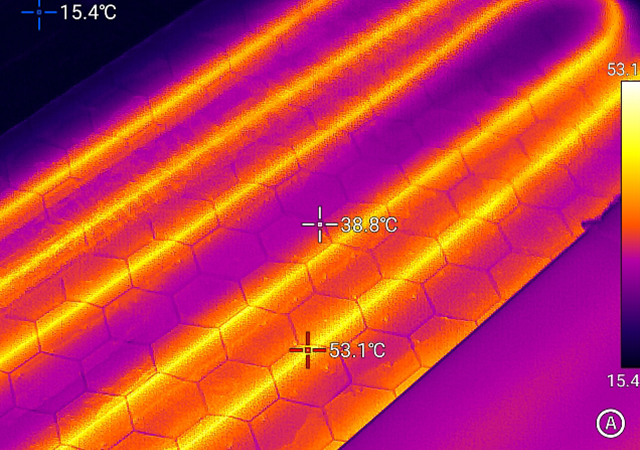
Analyzing the Thermal Images
Thermal cameras provide a real-time visualization of the floor heating system’s condition. Monitor the temperature distribution and identify any irregularities in the captured thermal images. Hotspots or cool spots may indicate problems such as blockages, leaks, or inefficient insulation. The color scale provided by the thermal camera will help distinguish these temperature variations.
Documenting and Reporting
To keep a record of the findings and effectively communicate them to technicians or repair professionals, take snapshots or record videos using the thermal camera. Document the areas where issues were identified and note down any relevant details. This documentation will aid in future repairs or maintenance work, serving as a point of reference.
Seek Professional Help, if Required
While thermal cameras are powerful diagnostic tools, it is essential to acknowledge their limitations. If you encounter complex issues or are uncertain about the interpretation of the thermal images, consider consulting a professional floor heating technician or engineer. They can provide expert advice and assistance in troubleshooting and resolving any problems identified.
Using thermal cameras for floor heating diagnosis significantly enhances the efficiency and accuracy of identifying issues within the system. By following the step-by-step guide outlined in this article, homeowners, technicians, and engineers can effectively utilize thermal cameras to pinpoint problems such as uneven heat distribution, leaks, blockages, and structural damage. Remember, regular maintenance and timely repairs can help ensure the optimal performance and longevity of your floor heating system.
Go Top